
Introduction:
Quiz App Using Python Django is a complete step-by-step tutorial to build a powerful quiz system with admin panel, scoring, and source code download.
The Django Quiz App lets users take quizzes on different subjects, check their scores, and track how well they’re improving over time.
Admins can easily manage everything from the Django admin panel. They can add new questions, write four options (A, B, C, and D), and choose the correct answer. They can also organize quizzes by topic or difficulty level.
When a user selects a topic or difficulty, they are taken to the quiz page. There, they answer multiple-choice questions one by one. After submitting the quiz, the app automatically calculates the score and shows the result. It can also display the correct answers and short explanations if needed.
Each question stores:
- The question text
- Four options (A, B, C, D)
- The correct answer
The app’s views handle the quiz logic, like checking answers and calculating scores. You can also add extra features such as:
- Timed quizzes
- Random question order
- Result charts to show progress
- Leaderboards to compare scores
- Color feedback (green for correct, red for wrong)
The design is simple and focused on questions, so it’s easy to use. This app is useful for education, training, and interview preparation because it removes the need for external online testing platforms.
It’s also great for learning Django. While building this project, you understand important concepts like:
- Dynamic forms
- Session handling
- Model relationships
- Admin customization
What makes this project special is how it connects learning features with real-time results. With a few improvements, it can even be turned into a complete LMS (Learning Management System) module.
Required Modules or Packages:
- Python 3.8 or higher: Make sure your computer has Python version 3.8 or above installed. The project won’t work properly with older versions.
- Django 3.x or 4.x: You need the Django framework (version 3 or 4) to create and run the project.
- pip: pip is a tool that comes with Python. It helps you install the libraries and packages needed for the project.
You can install the core requirements with:
pip install djangoOr install from a requirements.txt:
pip install -r requirements.txtHow to Run the Code:
Follow these steps to launch the application locally:
✅ STEP 1: Download or Copy the Project
Option A: If you have a ZIP file
- First, unzip (extract) the ZIP file into a folder on your computer.
- Then open that folder in VS Code
- Open VS Code
- Click File → Open Folder…
- Select the extracted folder
Option B: If you are using Git clone
- Open your terminal or command prompt.
- Run the git clone command with the project link.
- After cloning is complete, open the downloaded project folder in VS Code.
git clone https://github.com/username/repository-name.git
cd repository-name
code .
✅ STEP 2: Create a Virtual Environment
This step helps keep your project’s libraries separate from other projects on your computer. It makes sure everything runs smoothly without conflicts.
# Create virtual environment (in project folder)
python -m venv venv
# Activate it:
# On Windows:
venv\Scripts\activateOn macOS/Linux: Run this command to activate the virtual environment:
source venv/bin/activate✅ STEP 3: Install Required Packages
Most Django projects include a file called requirements.txt. This file lists all the libraries the project needs.
To install them, run the install command in your terminal. This will automatically install everything required for the project to work properly.
pip install -r requirements.txtIf the requirements.txt file is not available, don’t worry. You can install Django yourself by running the install command in your terminal. This will set up Django so you can start and run the project.
pip install django✅ STEP 4: Set Up the .env File (If Needed)
Some projects use a .env file to store important information like secret keys or database settings.
- Check the README file for instructions.
- If there is a .env.example file, open it.
- Create your own .env file and copy the needed values into it.
- Update the details (like database name or secret key) if required.
✅ STEP 5: Run Migrations
After setting everything up, you need to run migrations.This step creates the necessary database tables so your project can work properly.
python manage.py makemigrations
python manage.py migrate
✅ STEP 6: Create a Superuser (Admin Account)
python manage.py createsuperuserFollow the prompts.
✅ STEP 7: Run the Django Development Server
python manage.py runserverOpen http://127.0.0.1:8000 in your browser. Use /admin to access the admin panel.
Code Explanation:
- Model Definition in models.py
class Question(models.Model):
question = models.CharField(max_length=500)
option1 = models.CharField(max_length=200)
option2 = models.CharField(max_length=200)
option3 = models.CharField(max_length=200)
option4 = models.CharField(max_length=200)
answer = models.CharField(max_length=200)
The Question model saves all the important details of a question, such as:
- The question text
- Four answer options
- The correct answer (saved as text that matches one of the options)
This saved data is then used to automatically create and show the quiz form to users.
2. Quiz Form Handling in views.py
def index(request):
questions = Question.objects.all()
if request.method == "POST":
score = 0
for q in questions:
selected = request.POST.get(str(q.id))
if selected == q.answer:
score += 1
return render(request, 'result.html', {'score': score, 'total': len(questions)})
return render(request, 'index.html', {'questions': questions})
When the user submits the quiz, Django receives a POST request.
Then it:
- Goes through all the answers the user submitted.
- Checks each answer with the correct one (stored as q.answer).
- Adds to the score for every correct answer.
Finally, it shows a results page with the total score.
3. Quiz UI in index.html
<form method="POST">
{% csrf_token %}
{% for q in questions %}
<p>{{ q.question }}</p>
<input type="radio" name="{{ q.id }}" value="{{ q.option1 }}"> {{ q.option1 }}<br>
<input type="radio" name="{{ q.id }}" value="{{ q.option2 }}"> {{ q.option2 }}<br>
<input type="radio" name="{{ q.id }}" value="{{ q.option3 }}"> {{ q.option3 }}<br>
<input type="radio" name="{{ q.id }}" value="{{ q.option4 }}"> {{ q.option4 }}<br>
{% endfor %}
<button type="submit">Submit</button>
</form>
Each question is shown automatically on the page with 4 radio button options (A, B, C, and D).
Django’s template code is used to loop through all the questions and display them one by one.
4. Score Display in result.html
<h2>Your Score: {{ score }}/{{ total }}</h2>It simply shows the final score after the quiz is submitted.
Source Code:
If you want to see the complete source code, click the button below to download the ZIP file. After downloading, you can run the project on your own computer.
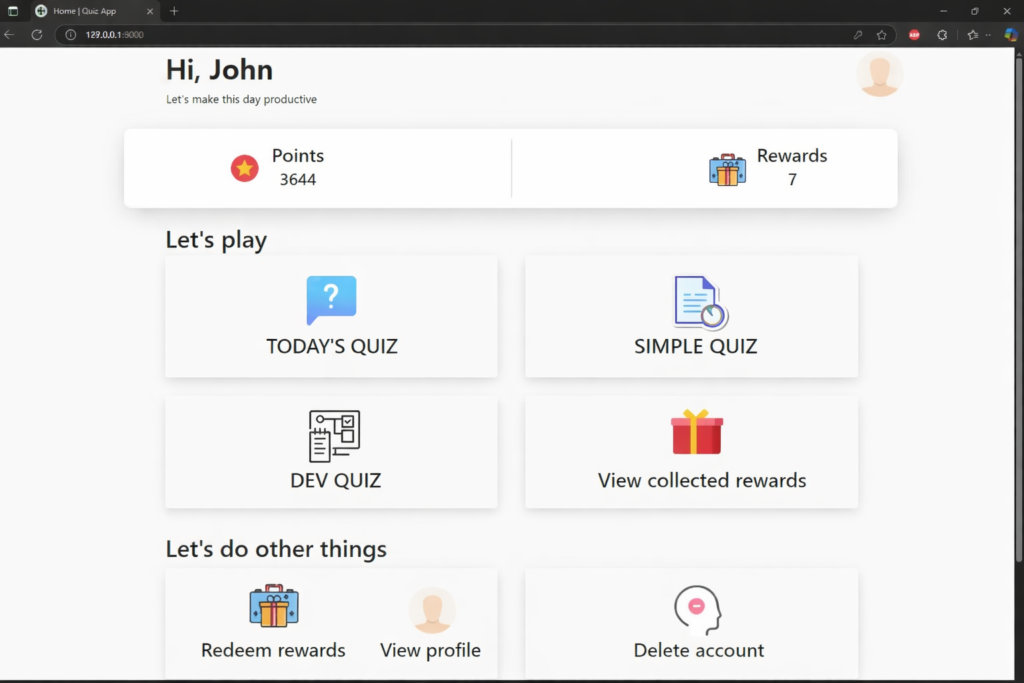
Output:
Post You May Also Like:
8 Powerful Python Libraries That Replace Spreadsheets Forever