
Jarvis is an AI virtual assistant, like Siri, Alexa, and Google Assistant. It’s built as an advanced JavaScript project that turns text into speech. Jarvis uses natural language processing to understand what users are asking and provides web search results. Right now, we have only made a basic version of Jarvis, but there is a lot of potential to add more features in the future.
Major updates we can add to our project include more voice commands, adding datasets, and allowing media uploads that Jarvis can scan and use to give results based on our data.
Before we start, I recommend practicing the concepts while working on the project. This will help you understand and apply the concepts better.
What is a Virtual Assistant?
A virtual assistant is software that listens to what you say, understands it using AI and language processing, and gives you the right web results.
What language is used for the project?
I used CSS for styling and JavaScript for adding functionality to our Jarvis project.
Creating Structure (HTML):
HTML, or Hyper Text Markup Language, will be used to build the structure for our Jarvis AI virtual assistant. We’ll create a basic layout with some media files and a button, which will allow us to give commands to the virtual assistant using a JavaScript function.
Adding Important Links in the Head Tag
We’ll give our Jarvis virtual assistant a clear title so everyone knows what it’s about. To style our project, we’ll link to an external CSS file. We’ll also use free icons from the Font Awesome website to add different icons to our project.
head>
    <title>JARVIS - Virtual Assistant</title>
    <link rel="shortcut icon" href="avatar.png" type="image/x-icon">
    <link rel="stylesheet" href="style.css">
    <link rel="stylesheet" href="https://cdnjs.cloudflare.com/ajax/libs/font-
awesome/5.15.3/css/all.min.css">

</head>
2. Adding Structure:
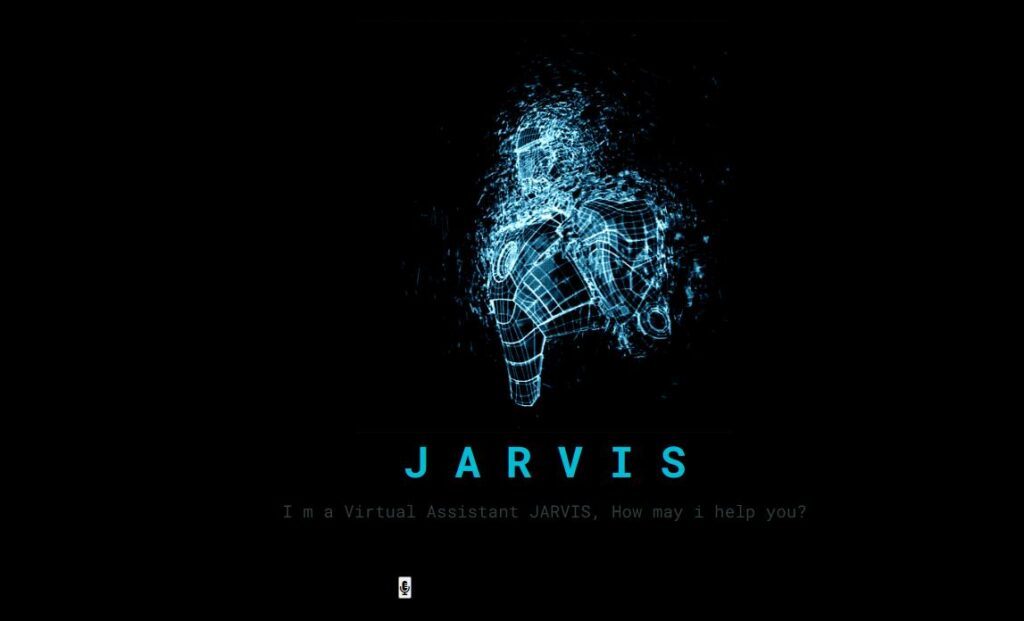
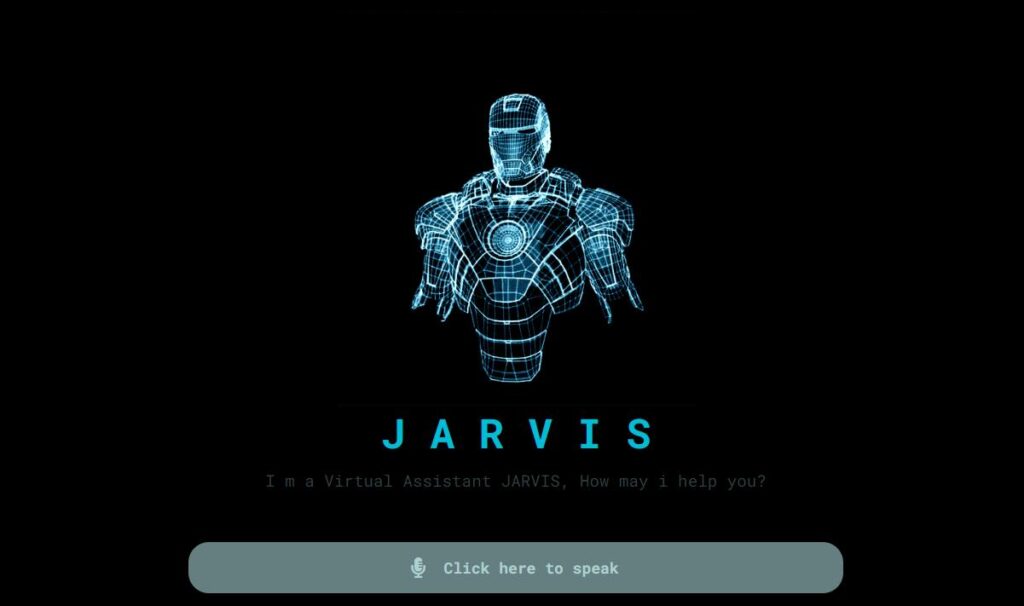
First, we’ll create a main section for our Jarvis project. Inside this section, we’ll use a <div> tag with the class “image-container” to hold an animated image of Jarvis. We’ll use the <img> tag to display the image, along with its file location and extension. For the main heading, we’ll use <h1> with the text “JARVIS”. A brief description of our project will be added using the <p> tag.
Next, we’ll create another container where we’ll place a button. Inside this button, we’ll use Font Awesome classes to add a microphone icon. We’ll also use <h1> to indicate to the user that they should click on the microphone icon to activate Jarvis.
<section class="main">
        <div class="image-container">
            <div class="image">
                <img src="giphy.gif" alt="image">
            </div>
            <h1>J A R V I S</h1>
            <p>I m a Virtual Assistant JARVIS, How may i help you?</p>
        </div>
        <div class="input">
            <button class="talk"><i class="fas fa-microphone-alt"></i></button>
            <h1 class="content"> Click here to speak</h1>
        </div>
    </section>
    <script src="app.js"></script>
Html output:

Adding Styling:
1. Adding Basic Styling:
First, we will use a Google import link to add new fonts to our project for styling the text on our webpage. Next, we’ll use a universal tag selector to set the padding and margin to zero, removing the browser’s default padding and margin. Finally, we’ll use the font-family property to apply the “Roboto Mono” font to our Jarvis Project.
@import url("https://fonts.googleapis.com/css2?family=Roboto+Mono:wght@100;200;300;400;500;600;700&display=swap");
* {
    margin: 0;
    padding: 0;
    box-sizing: border-box;
    font-family: "Roboto Mono", monospace;
}
2. Styling Main Section:
(.Main) class selector property: we will set the minimum height of 100 vh, and using the position property, we will set the position relative to the body of the webpage. The width of the main section is set at 100%, and using the background color property, we will set the background color of our main section to black. Using the justify content property, we will justify all the main content in the center.
.main {
    min-height: 100vh;
    position: relative;
    width: 100%;
    background: #000;
    display: flex;
    flex-direction: column;
    align-items: center;
    justify-content: center;
}

.main .image-container {
    padding: 10px;
}
3. Styling Jarvis Elements:
First, we’ll use the child tag selector to choose our image. We’ll set the image width to 100% and make it responsive by setting the display property to flex. We’ll center the image using the justify-content property.
Next, we’ll use the h1 tag selector to change the color of the Jarvis Virtual Assistant heading to blue. We’ll also center the heading in the main section using the text-align property.
.main .image-container .image {
    width: 100%;
    display: flex;
    align-items: center;
    justify-content: center;
}

.main .image-container .image img {
    width: 350px;
    align-items: center;
}

.main .image-container h1 {
    color: #00bcd4;
    text-align: center;
    margin-bottom: 10px;
    font-size: 40px;
}

.main .image-container p {
    color: #324042;
    text-align: center;
    margin-bottom: 40px;
}
4. Styling button:
Using child class selector (.input) we will justify the input field to the center of the main section and using the width and height property we will set the widht and height as 40vw and 50px . Also using the border-radius property we will set the border radius as 20px .
.main .input {
    display: flex;
    justify-content: center;
    align-items: center;
    width: 40vw;
    height: 50px;
    border-radius: 20px;
    background: rgb(202 253 255 / 50%);
}

.main .input .talk {
    background: transparent;
    outline: none;
    border: none;
    width: 50px;
    height: 50px;
    display: flex;
    justify-content: center;
    align-items: center;
    font-size: 15px;
    cursor: pointer;
}

.main .input .talk i {
    font-size: 20px;
    color: #aed0d0;
}

.main .input .content {
    color: #aed0d0;
    font-size: 15px;
    margin-right: 20px;
}
Adding functionality (Javascript):
Selecting HTML Element:
const btn = document.querySelector('.talk');
const content = document.querySelector('.content');
First, we’ll use `document.querySelector` to select the HTML element with the class name “talk” and store it in a constant variable called `button`. We’ll do the same for the HTML element with the class name “content” and store it in a variable called `content`.
Creating the Speak function:
We’ll create a function called `speak` that takes an argument called `text`. Inside this function, we’ll use the speechSynthesis API to convert text to speech. We’ll create a variable called `text_speak` using `SpeechSynthesisUtterance` and set its value to the `text` argument.
function speak(text) {
    const text_speak = new SpeechSynthesisUtterance(text);

    text_speak.rate = 1;
    text_speak.volume = 1;
    text_speak.pitch = 1;

    window.speechSynthesis.speak(text_speak);
}
Creating wish user function:
We will create a `wishMe` function to get the user’s current date and time using the `getHours` method. Based on the time, we will wish the user when the page loads. We’ll set up an event listener that does two things when the page loads: first, it will say “initializing Jarvis”; second, it will call the `wishMe` function to wish the user using the `speak` function.
function wishMe() {
    var day = new Date();
    var hour = day.getHours();

    if (hour >= 0 && hour < 12) {
        speak("Good Morning Boss...");
    } else if (hour >= 12 && hour < 17) {
        speak("Good Afternoon Master...");
    } else {
        speak("Good Evening Sir...");
    }
}

window.addEventListener('load', () => {
    speak("Initializing JARVIS...");
    wishMe();
});
Take commands:
We’ll create some variables and functions to take user commands. First, we’ll create a constant variable called `speechRecognition` and set it to `window.speechRecognition`. Then, we’ll create a function to take the user’s command through the microphone, convert it to text using the speechSynthesis API, and change all the text to lowercase using the `transcript.toLowerCase()` method.
We will set up an event listener for a button click. When the button is clicked, it will activate the recognition function and listen to the user’s command. We will use if and else conditions to check which command matches the user’s input. If the command is not in our list, we will open a new tab and perform a web search to find the relevant result.
const SpeechRecognition = window.SpeechRecognition || window.webkitSpeechRecognition;
const recognition = new SpeechRecognition();

recognition.onresult = (event) => {
    const currentIndex = event.resultIndex;
    const transcript = event.results[currentIndex][0].transcript;
    content.textContent = transcript;
    takeCommand(transcript.toLowerCase());
};

btn.addEventListener('click', () => {
    content.textContent = "Listening...";
    recognition.start();
});

function takeCommand(message) {
    if (message.includes('hey') || message.includes('hello')) {
        speak("Hello Sir, How May I Help You?");
    } else if (message.includes("open google")) {
        window.open("https://google.com", "_blank");
        speak("Opening Google...");
    } else if (message.includes("open youtube")) {
        window.open("https://youtube.com", "_blank");
        speak("Opening Youtube...");
    } else if (message.includes("open facebook")) {
        window.open("https://facebook.com", "_blank");
        speak("Opening Facebook...");
    } else if (message.includes('what is') || message.includes('who is') || message.includes('what are')) {
        window.open(`https://www.google.com/search?q=${message.replace(" ", "+")}`, "_blank");
        const finalText = "This is what I found on the internet regarding " + message;
        speak(finalText);
    } else if (message.includes('wikipedia')) {
        window.open(`https://en.wikipedia.org/wiki/${message.replace("wikipedia", "").trim()}`, "_blank");
        const finalText = "This is what I found on Wikipedia regarding " + message;
        speak(finalText);
    } else if (message.includes('time')) {
        const time = new Date().toLocaleString(undefined, { hour: "numeric", minute: "numeric" });
        const finalText = "The current time is " + time;
        speak(finalText);
    } else if (message.includes('date')) {
        const date = new Date().toLocaleString(undefined, { month: "short", day: "numeric" });
        const finalText = "Today's date is " + date;
        speak(finalText);
    } else if (message.includes('calculator')) {
        window.open('Calculator:///');
        const finalText = "Opening Calculator";
        speak(finalText);
    } else {
        window.open(`https://www.google.com/search?q=${message.replace(" ", "+")}`, "_blank");
        const finalText = "I found some information for " + message + " on Google";
        speak(finalText);
    }
}
final output

Conclusion
This college project is very significant and can make you stand out. Through this project, we’ve explored important concepts like AI, NLP (Natural Language Processing), and text conversion. My goal was to demonstrate how these concepts are applied in real-world scenarios. I hope you found this project interesting and educational.
If you can create your own personal assistant as part of this project, then you’ve truly grasped these concepts. It shows a deep understanding of how AI and NLP can be used practically.
1000+ Python Program Pdf :- Click here